Last Updated on January 19, 2024 by Twinbrodas
Introduction to data transfer between networks refers to the process of sending and receiving data from one network to another. In today’s world, where connectivity is crucial for both personal and professional activities, being able to transfer data seamlessly between different networks has become a necessity.
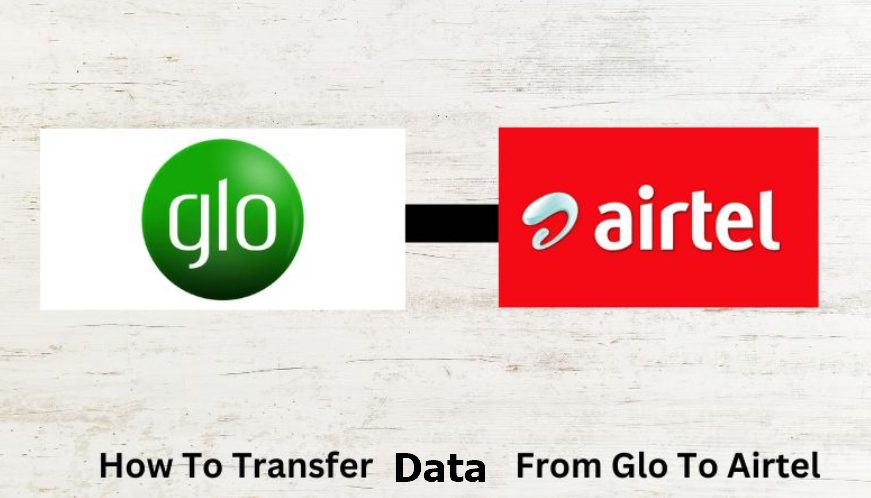
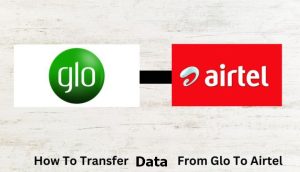
Data transfer between networks can be done in various ways, such as through Bluetooth, Wi-Fi, USSD Code, Date Gifting, third-Party Apps or cellular networks. However, in this article, we will focus on the specific method of transferring data from Glo network to Airtel network.
Before we dive into the steps of data transfer between these two networks, it is essential to understand the different types of data that can be transferred. This includes text messages (SMS), multimedia messages (MMS), and mobile internet data.
Text messages are short written messages that can be sent from one phone number to another. On the other hand, multimedia messages allow users to send pictures, videos, audio files along with text. Mobile internet data refers to the usage of internet services on a mobile device.
Understanding the Differences Between Glo and Airtel Networks
Network Coverage
One of the significant differences between Glo and Airtel is their network coverage. While Glo has a wider geographical reach in Nigeria, Airtel has better coverage in urban areas. This difference is crucial to consider when transferring data between the two networks as it may affect the speed and reliability of the transfer. If you are located in a remote area, you may have better luck with Glo, while those in cities may find Airtel more suitable.
Data Plans
Another significant difference between Glo and Airtel is their data plans. Both networks offer various data packages at different prices, but they differ slightly in terms of volume and validity period. For example, while Airtel may offer 1GB for 1000 Naira with a validity period of 30 days, Glo might provide 1.2GB for the same price but with a shorter validity period of 25 days. It’s essential to be familiar with each network’s data plans before deciding which one to transfer from or to.
Data Transfer Options
Glo and Airtel also differ regarding their data transfer options. With Glo, you can transfer data only through USSD codes or by using Glo Café App, while with Airtel, there are more options available such as SMS, USSD codes, and the Airtel Thanks app. This difference is especially crucial for those who prefer a more convenient way to transfer data.
Network Speed
Network speed is another crucial factor when it comes to data transfer between Glo and Airtel. Both networks use different technologies, with Airtel using 4G LTE, while Glo mostly uses 3G and 2G. As a result, Airtel may offer faster internet speeds compared to Glo in areas with 4G coverage. This difference may affect the time it takes to transfer data between the two networks.
Data Sharing
Both Glo and Airtel allow subscribers to share their data with friends and family. However, there are differences in how this feature works on each network. With Glo, you can only share your data with other Glo users, while Airtel allows you to share with any network through its Smart SHARE service. If you frequently share data with people on different networks, this difference may be significant when deciding which network to use for transferring data.
Benefits of Transferring Data Between Networks
- Cost Savings
- Access to Better Network Coverage
- Flexibility
- Avoiding Data Caps
- Backup
- Better Data Plans
Step-by-step Guide on Transferring Data from Glo to Airtel
Step 1: Check your balance and eligibility
The first step in transferring data is to ensure that you have enough data balance on your Glo SIM card. You can check your data balance by dialing *127*0# or sending an SMS with the word “INFO” to 127. Additionally, make sure that your Glo SIM card is eligible for data transfer by dialing *127*01#.
Step 2: Activate Data Gifting service
If you haven’t activated the Data Gifting service on your Glo SIM card before, then you need to do so before proceeding with the transfer process. To activate this service, simply send “Gift” space “Airtel number” space “Data amount in MB” as an SMS to 127.
Step 3: Get the PIN for Data Transfer
In order to successfully complete the data transfer process, you will need a PIN code which acts as a security measure. To get your PIN code, send “PIN” as an SMS to 127 or dial *127*00#. You will receive a message containing your unique PIN code.
Step 4: Dial the data transfer code
Once you have your PIN code, dial *127*01*Airtel number*data amount in MB*PIN# on your phone. For example, if you want to transfer 500MB to an Airtel number with the digits “08012345678,” then you will dial *127*01*08012345678*500*PIN#. Press the send/call button.
Step 5: Confirm the data transfer
After dialing the code, you will receive a message asking you to confirm the data transfer. Reply with 1 to confirm or 2 to cancel.
Step 6: Successful Data Transfer
If the data transfer is successful, both you and the recipient will receive a message confirming it. The recipient’s data balance will also be updated with the transferred amount.
Congratulations! You have successfully transferred data from your Glo SIM card to an Airtel number. You can repeat this process as many times as you want, as long as you have enough data balance and your SIM card is eligible for data transfer.
Common Issues and Troubleshooting Tips
1. Insufficient balance: One of the most common issues when transferring data is having insufficient balance on your phone. Before initiating the transfer, ensure that you have enough credit on your phone to cover the cost of the data you want to transfer. If not, recharge your phone and try again.
2. Incorrect USSD code: Another frequent problem is using an incorrect USSD code for the transfer. Make sure you are dialing *141* followed by the recipient’s number and then # before pressing send. Any mistake in this code will result in a failed transaction.
3. Network Issues: Sometimes, network connectivity can also cause problems with data transfer between Glo and Airtel networks. If you are experiencing poor network coverage or signal strength, wait until you have better reception before trying again.
4. Incompatible Plans: It’s essential to note that not all data plans are compatible for transfer between different networks. Check if both your plan and the recipient’s plan allow for data sharing/transfer before attempting it.
5. Expired Data Plan: If your current data plan has expired or run out of validity period, you won’t be able to initiate a successful transfer until you renew or reactivate it.
6. Wrong Recipient Number: Double-check the recipient’s number before initiating the transfer to ensure it is correct. If you enter the wrong number, the transaction will fail, and you won’t be able to retrieve the transferred data.
7. Insufficient Data Balance: Similarly, if the recipient doesn’t have enough data balance on their line, the transfer won’t go through. Make sure they have enough data before attempting a transfer.
8. Contacting Customer Care: If you’ve tried all these troubleshooting tips and are still unable to complete a successful transfer, your best bet is to contact customer care for further assistance.